Using Screencastify to record
(note: your free account is limited to only 10 recordings per month)
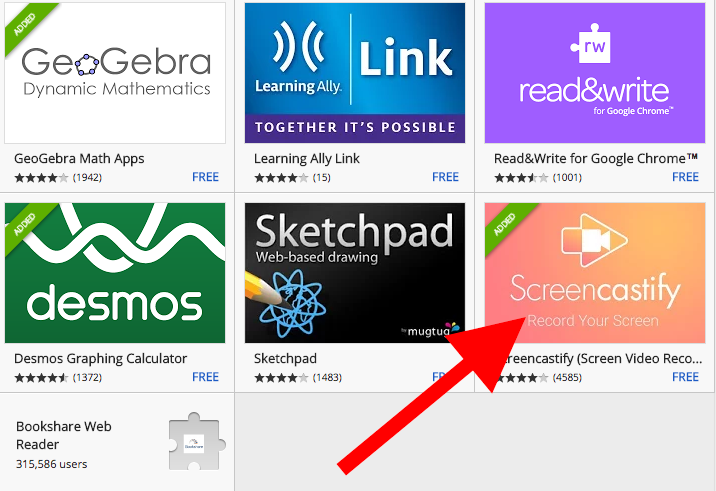
Add Screencastify extension to your Chrome browser
- Log into the ChromeBook with your student account (studentid@newton.k12.ma.us)
- Launch Chrome
- Go to the Chrome web store https://chrome.google.com/webstore/category/extensions - confirm you are logged in with your student ID
- Click on NPSGoogle App Self Service, if necessary

- Click on Screencastify button

Use Screencastify to record
- Once it's added to Chrome you'll see an orange arrow icon in your browser

- The first time you click it, Screencastify will ask to link your Google account to store your videos on Google Drive
- If necessary, sign in again to confirm your Google Drive account
- Allow Screencastify permissions (e.g., use your microphone, drawing tools, etc.)
- If asked, setup Tab recording -- this will give you more options when you record
- If asked, allow the extra permissions for Tab recording
- Next you should see a brief tutorial - it’s worth watching!
- You can choose between recording the whole screen (so you can switch between tabs) or just one tab. You can also record your face with the webcam.
- Make sure the microphones are turned on!

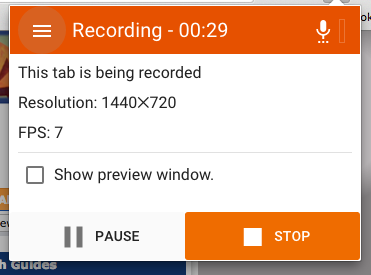
- Click the orange button to start recording. The recording will capture what happens on screen, as well as your voice
- To stop or pause recording, click the orange arrow icon again

- When you are finished you will see a playback of your video. It will automatically be saved to a folder in your Google Drive (you may need to click “grant permission”).
Newton South High School Library October 2019
